
click to enlarge
An ultrasound probe that fails mid-examination creates panic, especially when every minute counts. Fortunately, there are simple reflexes to establish a quick initial diagnosis. In this practical guide to probe failure, PRS Healthcare offers you a clear and rapid method to identify the source of malfunction… and take effective action!
Why a practical guide to ultrasound probe failure?
Biomedical technicians know this well: not all failures are the same. Some are visible (cracks, severed cable), while others are more insidious (blurry image, intermittent signal…). Therefore, knowing how to make an initial diagnosis is essential to:
- Save time
- Reassure users
- Quickly direct toward an appropriate solution
Step by step
This practical guide to ultrasound probe failure helps you distinguish key symptoms, perform the right actions, and avoid the most frequent errors.
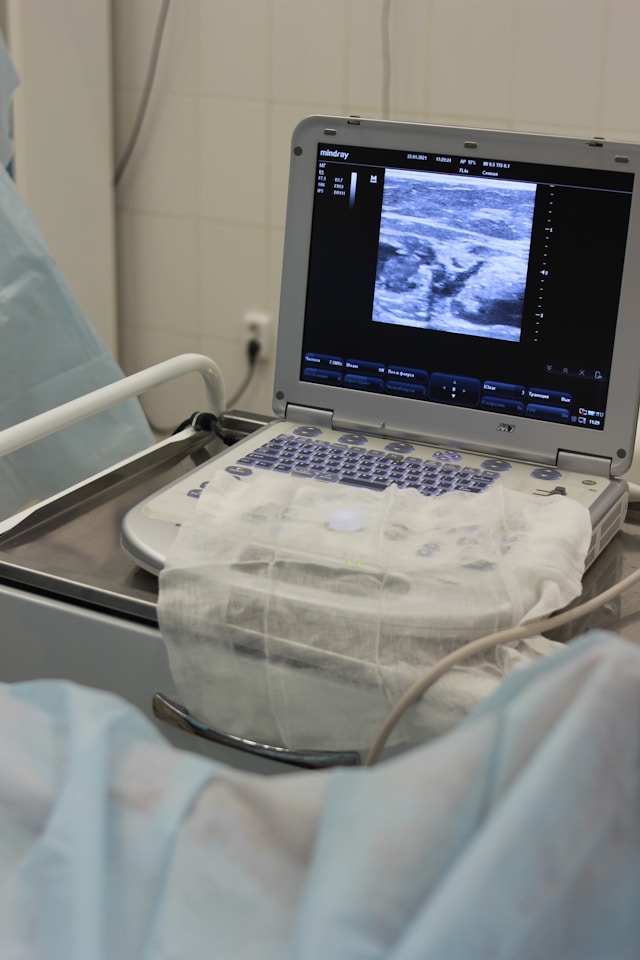
Step 1: Observe the clinical signs of failure
The first step of our practical ultrasound probe failure guide: listen to the user and observe the symptoms.
Here are the most frequently reported signs:
- The image is blurry or unstable
- The device no longer recognizes the probe
- The signal is weak or jerky
It is important to note in what context the failure occurs: from the moment of connection, after several minutes of use, or randomly? Consequently, these elements point toward a probable cause.
click to enlarge
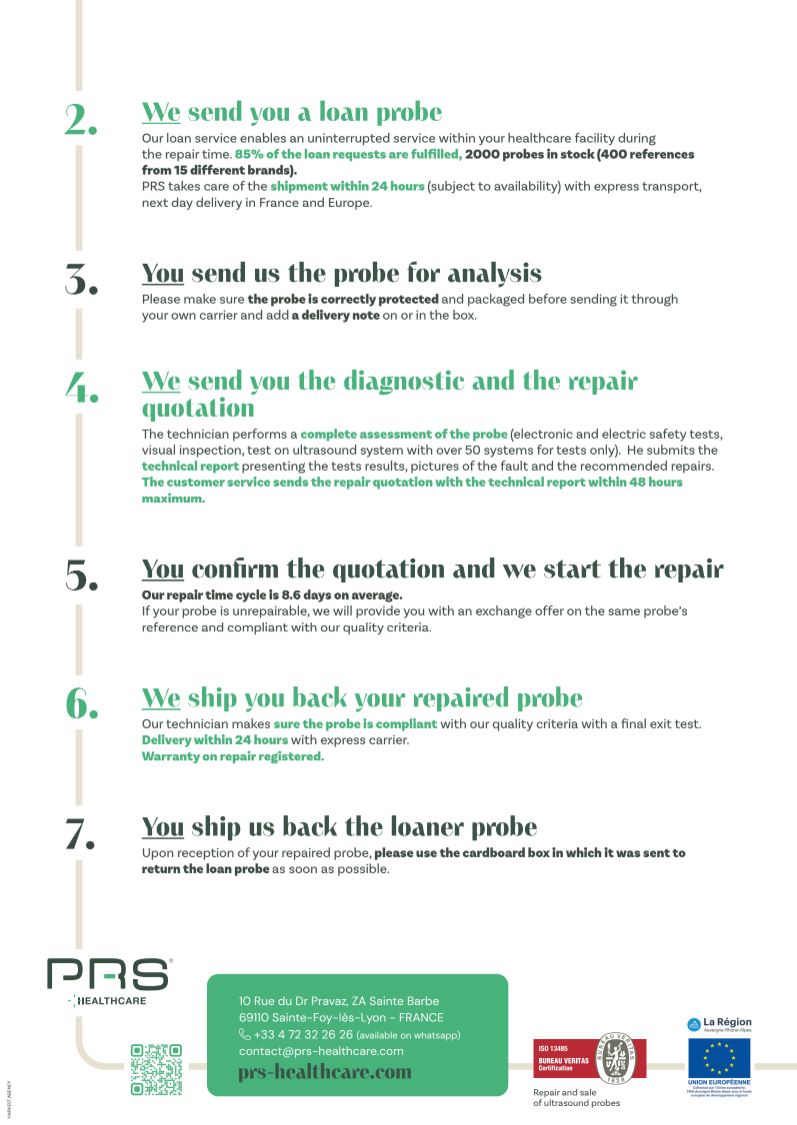
Step 2: Check visual elements
Next, proceed with a rapid visual inspection:
- Deteriorated membrane: cut, crack, detachment
- Damaged cable: twisting, cracked sheath, crushed cable
- Damaged connector: bent pins, oxidation
A visual defect is often revealing. However, be careful: a probe can be defective without the slightest external sign. Never conclude too quickly.
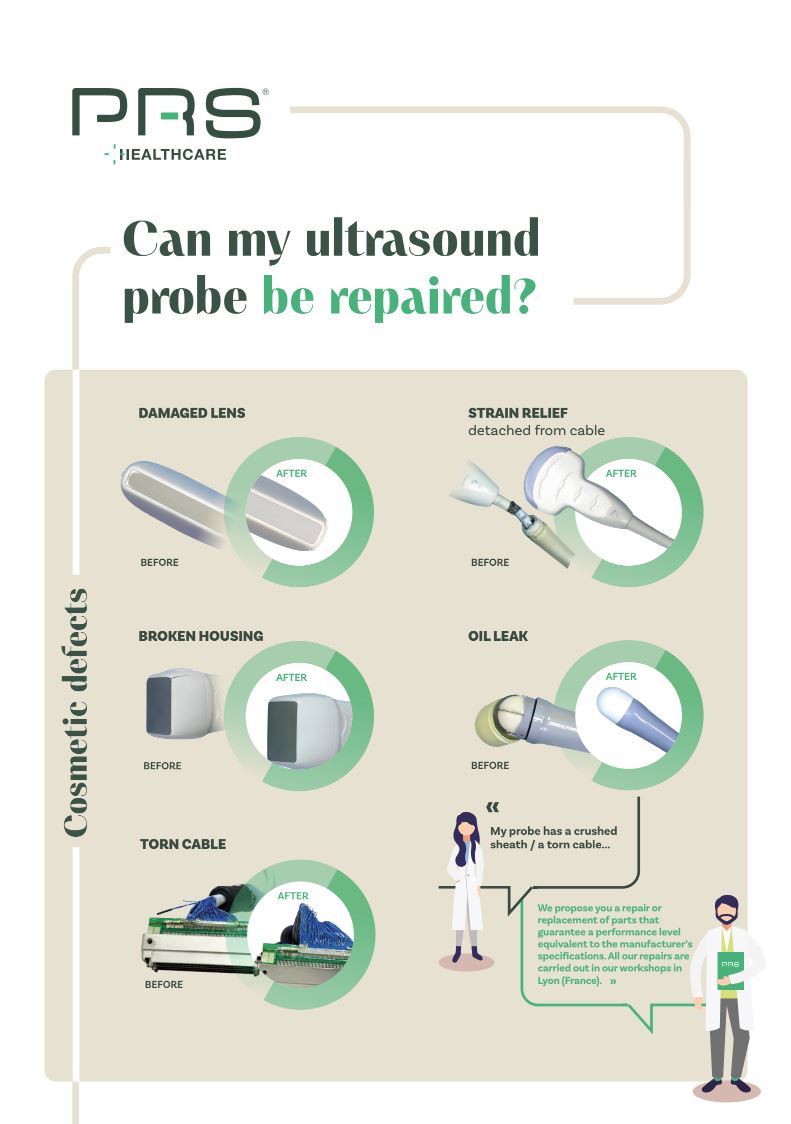
Step 3: Test compatibility with another ultrasound system
One of the best ways to isolate the failure is to test the probe on another compatible ultrasound system.
Two scenarios:
- If the failure reproduces: the problem indeed comes from the probe
- If everything functions normally: the origin is probably related to the ultrasound system (port, power supply, card)
Although basic, this step often saves precious time in decision-making.
Step 4: Avoid risky manipulations
In this practical guide to ultrasound probe failure, we want to emphasize one point: never attempt to open or dismantle the probe. Not only does this expose you to electrical risks or contamination, but it also makes any repair impossible (loss of traceability and ISO certification).
In case of doubt, isolate the probe, label it, and entrust it to us.
Step 5: Document the incident for the biomedical service
click to enlarge
The final step of this practical ultrasound probe failure guide: traceability. Indeed, it is crucial to:
- Fill out an incident report
- Describe observed symptoms
- Specify tests performed
- Attach photos if necessary
This allows the biomedical service to process the request more quickly and efficiently.
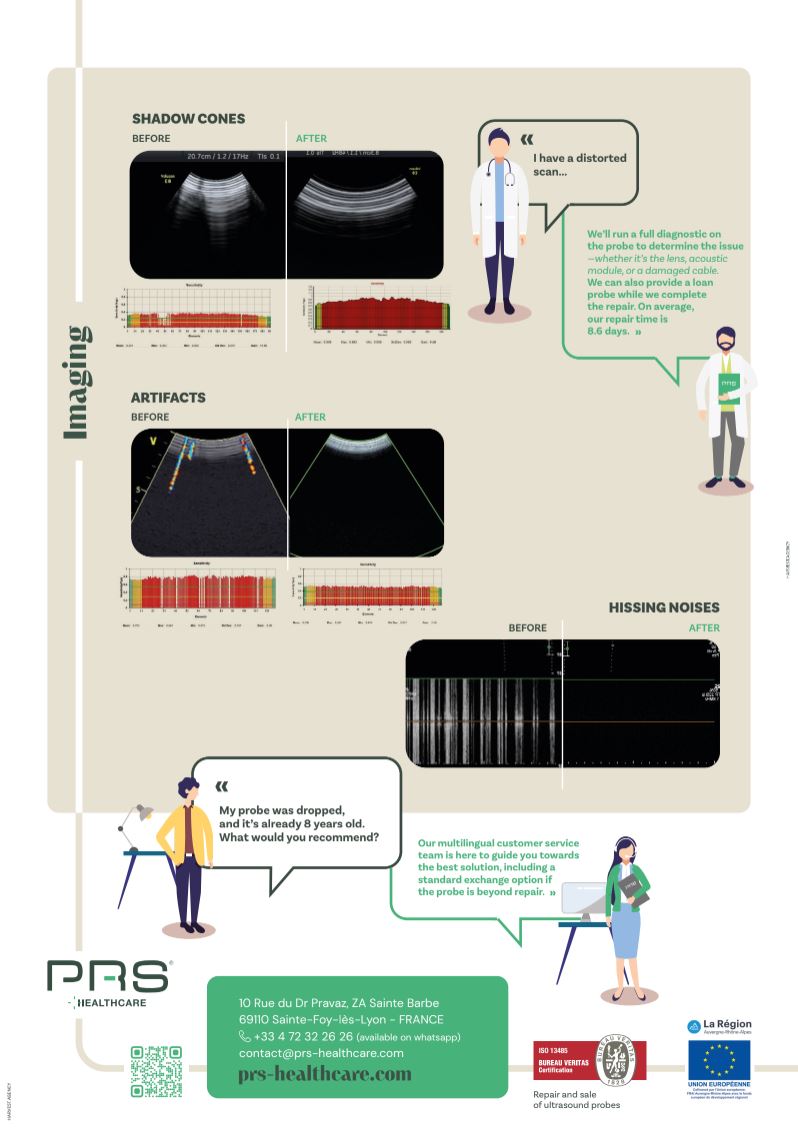
What’s next: repair, replacement, or probe loan?
“Is my probe repairable?” This is a question that often comes up, and rightly so, in discussions with companies that trust us.
Once the diagnosis is established, several options are available to you:
- Repair: if the failure is isolated, repair is often possible, quick, and economical
- Loan probe: at PRS Healthcare, we send you an equivalent probe to avoid any service interruption
- Replacement: as a last resort, if the probe is irreparable or obsolete
Need an opinion on an ongoing failure? Contact our technical team!
Conclusion: a practical guide to ultrasound probe failure, at your fingertips!
In summary, when facing a probe that no longer responds, keep these 5 reflexes in mind:
- Identify symptoms
- Inspect visually
- Test on another device
- Do not manipulate the interior
- Document the incident
Thanks to this practical ultrasound probe failure guide, you can intervene quickly, secure
click to enlarge
equipment, and streamline maintenance.
To go further:
How do you manage probe failures in your facility?
